Uploading the site to the internet!
Up until now we didn’t pay anything to anybody which is great for our wallet, but not exactly optimal if you want the world to see your site (or at least your grandmother).
A website consists of two things: a Domain Name and a Server.
Domain Name
This is the gibberish that comes after the www. and before the .com. Actually, it can be .org, .co, .it, .store, .life and more and more, you get to choose.
This is the name of your site, how people will know it. You know me by “AsadoDevCulture” (which is a great gibberish, if you ask me). I bought my domain from http://www.GoDaddy.com, there is no special reason for me to choose godaddy but I know them for a long time and they have pretty good prices. Local sites can sell you local domain addresses (like .com.ar for Argentina and .co.il for Israel). Choose your domain and prey it is available.
Server
You’ll need a server to host your site. Your files, database, email addresses and such.
Mainly, you have two options; Shared Server or Virtual Private Server. I strongly recommend a shared server because it is cheaper and you probably don’t need the features of a VPS.
In short, a shared server gives you shared resources with other people. The same server is used to host many clients, so the costs is divided between all the clients. One downside for this is that you can’t decide on everything. Most shared servers will have some options that influence all the clients and won’t allow you to change them.
A VPS can be seen as one step higher from the shared server. By having a VPS you can let other people host their sites there. You have control over the whole server. Besides being more expensive than a shared server, a VPS requires more work as more customization needs to be done.
GoDaddy offers shared servers, but a quick google search will give you many more options. If you intend to have a local site, I’ll recommend using a local vendor as their server will be closer to your clients == meaning more speed.
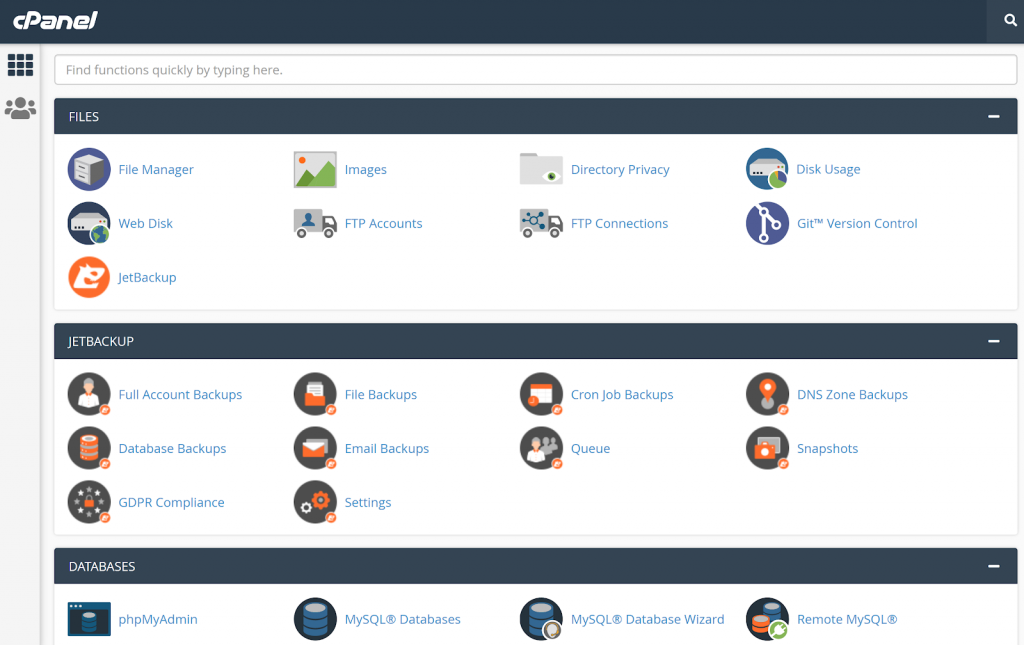
After you buy a Shared Server, you’ll receive your account details to login.
You’ll probably get a cPanel interface, like this one:
Configuring
First thing we need to do is to point the domain to our server. If you purchased the domain with the server, you can probably skip this step, it’s already configured for you.
If you purchased them separately, you’ll need to manually configure them:
- Get the nameserver address from your server. It’s probably something like this: ns1.YYYYYYY.com, ns2.YYYYYYYY.com
- Go to your domain settings, set the nameserver to manual and fill the server’s nameserver address.
- In the cPanel, go to “Domains” and add a new domain. It is very possible you already did this while purchasing the server.
- Enter your domain name and set the path to /public_html (this should be the default).
- Now just wait 24-48hs until all the domain servers are updated and your local cache and DNS is updated as well. 🙂
Meanwhile, let’s upload our files!
Files
Zip your site and upload it to the server, use the “File Manager” to upload the zip file and then extract the files into /public_html.
Verify the file “index.php” is directly under /public_html.
Database
Go to http://localhost/phpmyadmin, login and select your database from the left-side list.
Then click on “Export” from the top menu. The default settings should be Ok:
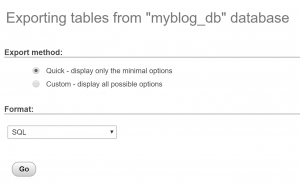
Click on Go and the export will begin.
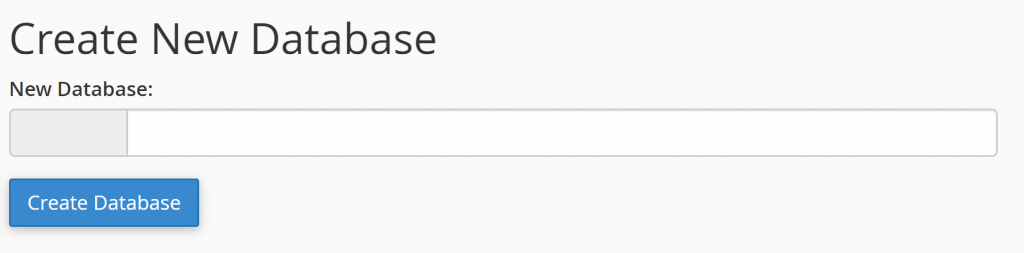
Now go to your cPanel and select “MySql Databases”.

Create a new database with the same name as the local one (if a prefix is required, don’t worry, we’ll take care of this later).
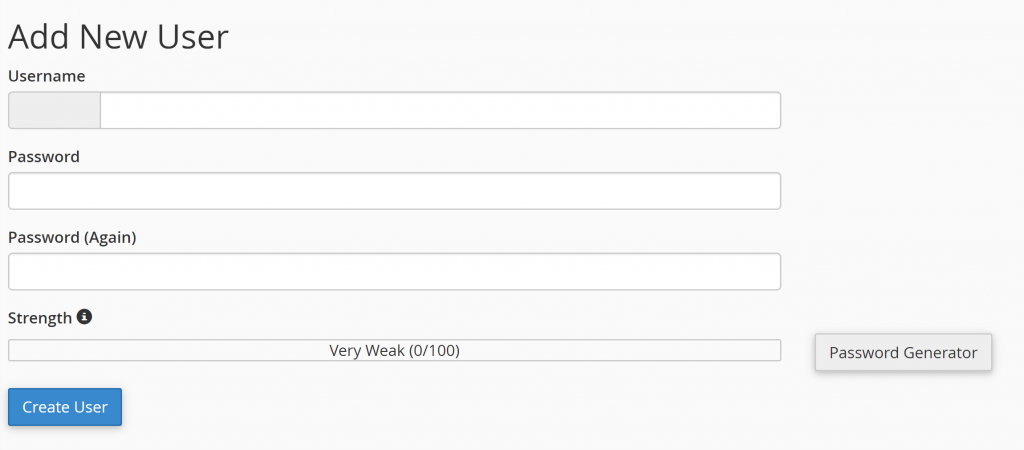
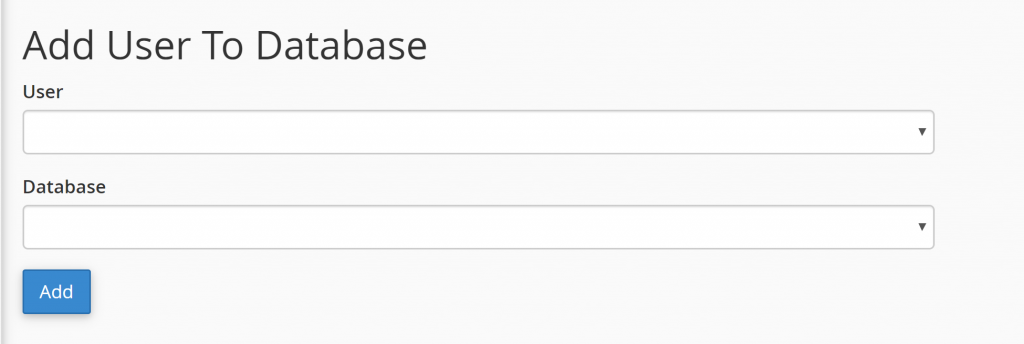
Create a new user:
Configure the user to the DB:
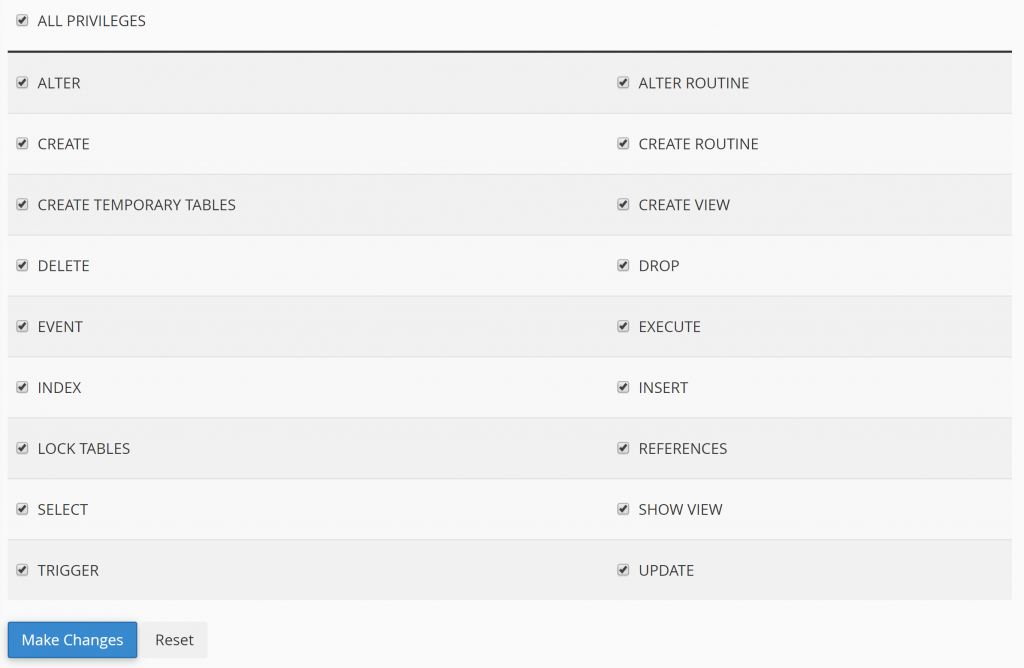
Set it privileges to “ALL”:
Go back to the main menu and select “phpMyAdmin”. You’ll see the same interface you saw on your localhost. Select your database from the list on the left and click on “Import” from the top menu.
Search for the file we exported in the previous step and click on “Go”.
When creating the database, you’ve probably been required to add a prefix to the DB name (or user, or both). If this is the case, you’ll need to edit the file “wp-config.php” under “/public_html” to have the new values. Reach the file using cPanel’s File Manager -> right click -> “edit”. You’ll see something like this:
/** The name of the database for WordPress */
define( ‘DB_NAME’, ” );
/** MySQL database username */
define( ‘DB_USER’, ” );
/** MySQL database password */
define( ‘DB_PASSWORD’, ” );
/** MySQL hostname – Usually will be ‘localhost’*/
define( ‘DB_HOST’, ‘localhost’ );
Fill the file with your new username, password and DB name. Click on save before closing the tab.
When moving a WordPress site, we need to tell WordPress its new location. For this we’ll need to edit two rows in the DB.
Go back to phpMyAdmin in your server and select your DB name from the left list.
Find the table “wp_options” and click on it.
You should see this two rows at the beginning:

Click on Edit on each one and set the value to your domain name (mine is “https://www.asadodevculture.com”).
That’s it! You have your very first site online! (Remember to wait 24-48hs before telling your friends).
This is the least you have to know to have a working site. Other things you should keep in mind are site backups, email addresses, PHP versions, updates and more.
Enjoy your site and send me a link!
Comments: 1
Great post!