It’s been a few weeks since the blog is in the air and I’m really happy from all the feedback I get from my friends.
One of them asked me how do you publish a website to the internet, to which I decided to answer with a simple guide.
Here is the “Guide for the starting web developer” (part I)!
http://localhost/
Putting the website online costs money. I don’t recommend starting your journey with a fine. You can start playing using your own local server.
I’m using Windows, therefore I installed “WampServer”. Wamp (Windows, Apache, MySql, Php) will install all the necessary stuff in your computer to get yourself a local server.
Pay attention when setting the password for MySql, we’ll need it later.
After installing Wamp and running it, browse to http://localhost to check wamp is working.
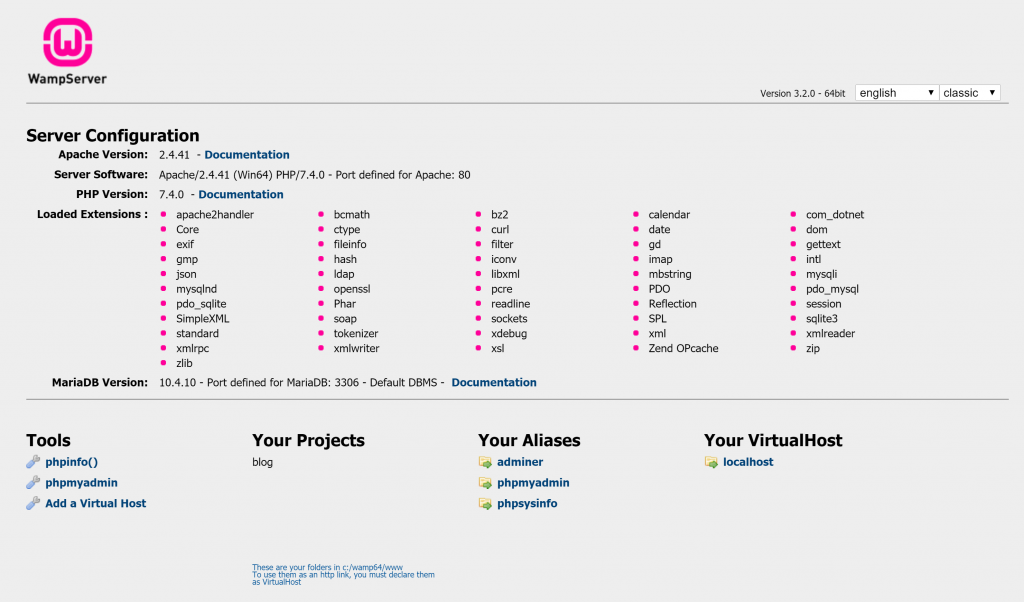
The MySql interface can be reached via http://localhost/phpmyadmin.
http://localhost/myblog
After having a local server, we can now install WordPress. WordPress is a CMS (Content Manager Service), and it’s the most popular one. There is also Joomla! which I like as well, Drupal which I’ve never used and more.
Download the zip file from here and extract it to C:\Wamp64\www\myblog
Assuming you’ve installed Wamp to C:\Wamp64. If you are not sure where you installed Wamp, go to http://localhost and check the middle bottom part, it’s written there very small:
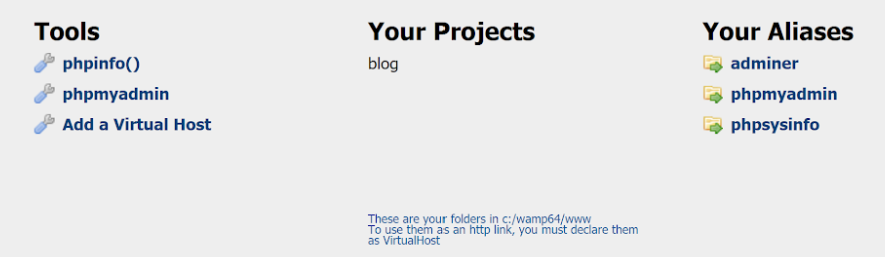
I’m going to assume C:\Wamp64 is your installation folder.
Browse to http://localhost/myblog to start the WordPress installation.
- Choose your language and click continue.
- Click on “Let’s go”.
- Now we need to create the database WordPress needs.
- Open a command line (WinKey+R -> cmd -> enter) and type
cd C:\wamp64\bin\mariadb\mariadb10.4.10\bin
- press enter and type:
mysql -u root -p
press enter and insert the password you configured when installing Wamp (told you we’ll need it).
- Write
create database myblog_db;
and press enter.
- You should see
Query OK, 1 row affected (0.002 sec)
- Now fill the setting in the WordPress installation page and click “Submit”.
- Click on “Run the installation” and wait for it to finish.
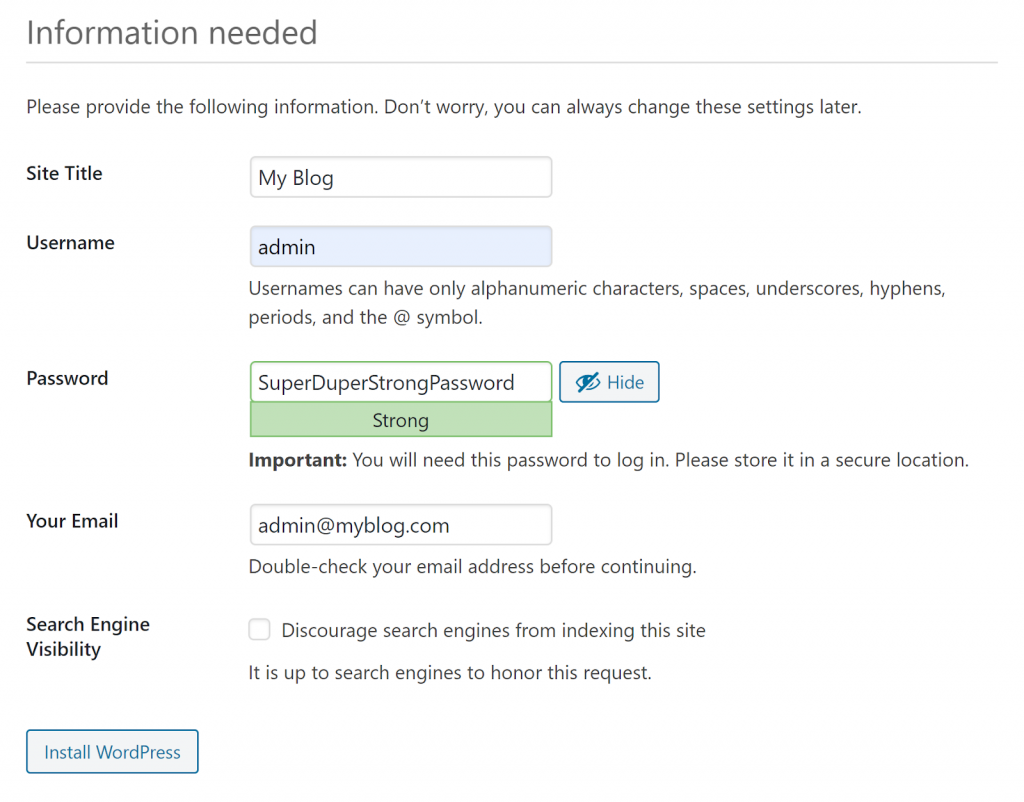
- Fill all the information needed and press on “Install WordPress”. It should look something like this:
- Click on “Log in” and enter the credentials.
That’s it! You have a working WordPress site!
I’ll stop now this part and let you play a bit with your site. Install plugins and themes to enhance your site!
Stuck on something? Write down your problem and I’ll try to help!
If all you want is to start a simple WordPress site, you can go to wordpress.com and start a blog almost immediately using their hosting server, no installation needed. A downside to this is that 1. You won’t really know what’s going on; 2. There is a lot of stuff you can’t do, or need to pay for; 3. You won’t read my next post.
Up to you what to do!
No Comments