Now that we know how to use the .Net Core Dependency Injection Framework and how to nuget our code (and even configure a symbols server), we can move to the last part of our infrastructure – Visual Studio Template.
At the end we’ll have our own template to choose from in the “Create a new project” menu.
The idea behind this, is that every MS we will build will have a common base. They will all need to listen to a queue, send to a queue, talk to a REST Api and such. The only thing that will be different between them is the Business Logic.
Understanding this is the key to understanding why a template is of much use to us. All the developers that will work on this project need not be concerned of the common stuff, but only of the specific BL.
Creating a project template is actually very easy but contains a lot of gotchas.
Firstly you need to create your solution including all the stuff you want to have in the template. In our Solution we had 1 project, the .Net Core Service Worker. I’ll add a test project to it.
The Service project contains all the base infrastructure and nugets. The Tests project includes one Test Class with 3 functions that Fail.
I wanted the tests to fail to obligate the developer to create tests if he wants it to build in the pipeline.
Create the template files
Now let’s get our hands dirty.
Go to
Project -> Export Template
Click on Next
Choose a name for the template
Add a template description
Uncheck “Automatically import the template into Visual Studio”
Repeat for every project you have.
Now, extract all the zip files created into a folder, and copy one of the `MyTemplate.vstemplate` files to outside the folders and rename it to “RootTemplate”
You’ll have something like this:
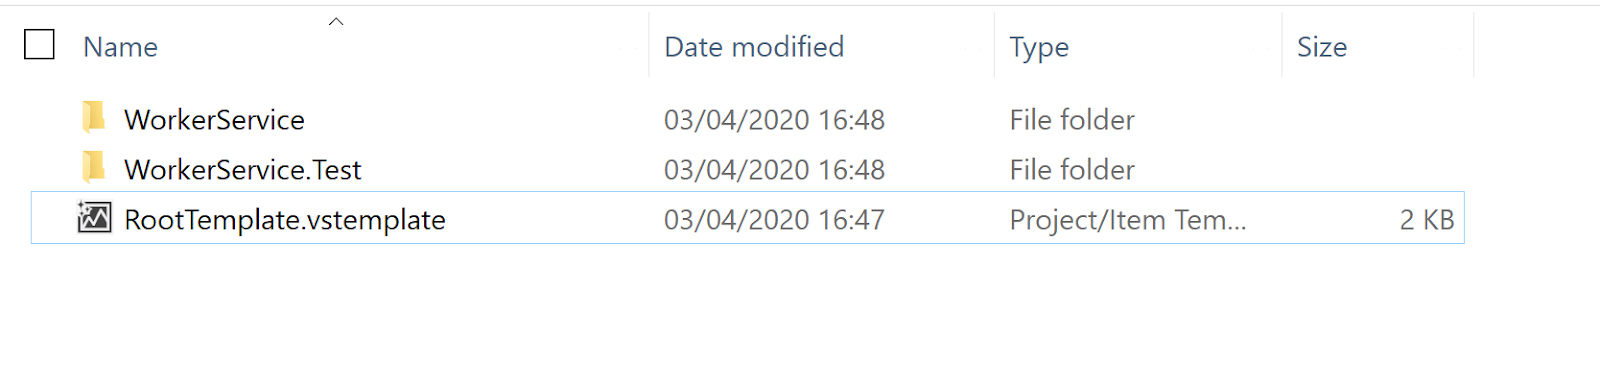
Now open RootTemplate.vstemplate in your favorite editor and make it look like this:
<VSTemplate Version=”3.0.0″ xmlns=”http://schemas.microsoft.com/developer/vstemplate/2005″ Type=”ProjectGroup”>
<TemplateData>
<Name>MicroServiceTemplate</Name>
<Description>My description</Description>
<ProjectType>CSharp</ProjectType>
<ProjectSubType>
</ProjectSubType>
<SortOrder>1000</SortOrder>
<CreateNewFolder>true</CreateNewFolder>
<DefaultName>WorkerService1</DefaultName>
<ProvideDefaultName>true</ProvideDefaultName>
<LocationField>Enabled</LocationField>
<EnableLocationBrowseButton>true</EnableLocationBrowseButton>
<CreateInPlace>true</CreateInPlace>
<Icon>__TemplateIcon.ico</Icon>
</TemplateData>
<TemplateContent>
<ProjectCollection>
<ProjectTemplateLink CopyParameters=”true”>
WorkerService\MyTemplate.vstemplate
</ProjectTemplateLink>
<ProjectTemplateLink CopyParameters=”true”>
WorkerService.Test\MyTemplate.vstemplate
</ProjectTemplateLink>
</ProjectCollection>
</TemplateContent>
</VSTemplate>
Two important things:
In the root xml element you need to set the Type to “ProjectGroup”
Take a look at the “TemplateContent” content. The CopyParameters will be helpful later 🙂
Now you need to wrap all the files into a zip file and copy it to a remote directory.
Configure Visual Studio to be aware to the Templates Directory:
Go to
Options -> Projects and Solutions -> Locations
Set the “User project templates location” and “User item templates location” to your remote directory.
Now, when creating a new project, you’ll see your own template!
Awesome, but not yet finished. Because when you’ll create the project the names of the projects will always be “WorkerService” and “WorkerService.Test”. We want the name of the project the user inserts to replace this.
In my pipeline, I created a job that replaces all “WorkerService” text to “$ext_safeprojectname$”.
Then it zips the files and copies it to the remote directory.
Now, Visual Studio will replace that tag with the user’s project name.
You do need to remember to update the template files every time you add new files (or entire projects) to the template.
This step completes the pyramid by making it as easy as it can get to work with.
The template gives you the first two steps and lets you concern about the third step, the actual business layer.
As we continue the project we’ll probably encounter many new things and we’ll back and forward this template and nugets many times. It natural and it’s good.
Our architecture we’ll ensure we can do this easily.
No Comments